


We realize not every detail is obvious at first glance, so this series is intended to provide an inside look into the thought and design process behind our creations – and yes, perhaps a sneak peak or two at the future.
It has long been our aim to give a watch as much of a dynamic personality as possible: it should change under different light conditions and reflect its environment to both be in harmony with it, as well as offer the wearer something that’s alive and interesting. We’ve all had watches that are one-trick-ponies that always look the same, and don’t reward longer ownership; this is disappointing in the long run. Better the feeling of not quite ever having discovered everything about your collection.
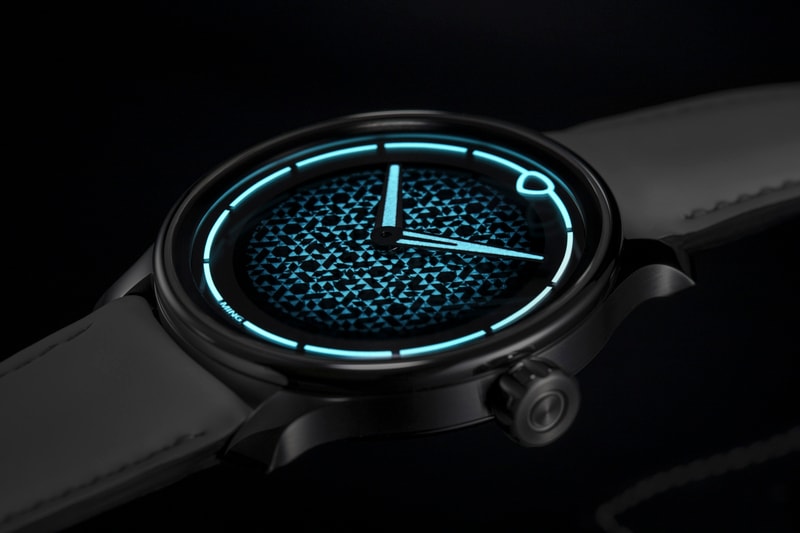
There are three ‘main’ faces to a MING: daylight head on, daylight inverted (where the sapphire or other polished components of the dial reflect a bright light source and turn into the brightest elements instead of the darkest ones), and night. The night face is the luminous one, and the one that is generally the most 2D and graphic as there isn’t enough light to pick up textures and inversion.
We use several formulations of and techniques to apply luminous material. The choice depends on the underlying material we are trying to apply the lume to; some materials or finishes can’t withstand the high temperatures required for HyCeram, for instance. Or they can’t be polished, or they are external which requires a higher hardness and environmental resistance. Or perhaps we need a formed shape. Each technique has its advantages and drawbacks, and will look slightly different – this is unfortunately unavoidable even if we compensate for brightness differences by increasing thickness or multiple applications.
Modern non-radioactive luminous material is a type of strontium aluminate. Electrons within the material are raised to a higher energy state by absorbing UV light in a certain wavelength; when the states decay after a certain period of time, they emit that energy as a photon. Different colors are produced by different energy levels and thus different wavelengths of light. This is achieved by changes in the chemical formula. This means that for all electrons to be raised to a higher energy state, prolonged UV exposure of the right wavelength is required; it also means that after all states decay, no more photons will be emitted and the material won’t glow. Charging can be done under short-wavelength UV, or daylight – which is continuous spectrum and contains the right wavelengths. It’s very important to note: no charge = no glow.
Luminous material emits in certain wavelengths only because of the physical limits of the compound: the energy levels are fixed and not continuous, which means only certain wavelengths are possible. In theory it is possible to make white emission – since white is a mixture of all visible wavelengths - by combining multiple wavelengths; however, in practice it is difficult not to get a color cast over time because different wavelengths also have different decay times. At some point or other, one color will dominate.
Warmer colors glow less brightly because they are lower energy; this is why we never see bright red emission, and blues are always the brightest and longest lasting. It’s also worth noting that you cannot have too much of a difference between daytime color and emission color: in theory you could have red-dyed (i.e. red in daylight) lume with blue emission, but because the red dye acts as a color filter – none of the blue light would make it out.
That about covers the basics of how luminous materials works; application is quite another thing. There are four main methods for making something luminous, and we use all of them to one degree or other:
1. Painted
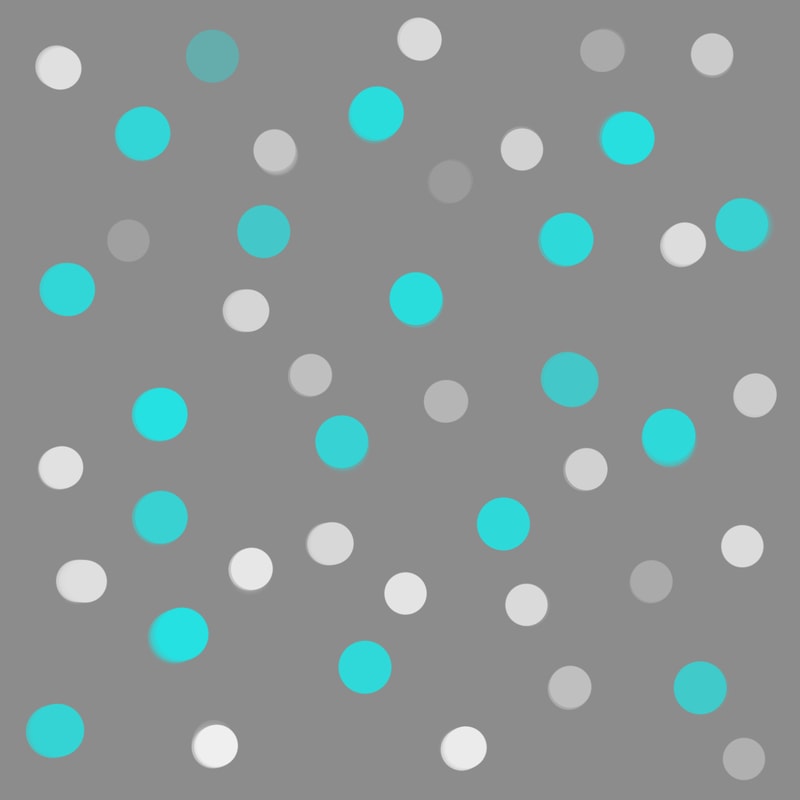
The simplest and most common technique. Strontium aluminate powder is mixed with paint (for color) plus transparent binder; some of the binder dries and the whole thing solidifies in a similar way to normal paint. It can be applied to pretty much anything and doesn’t require special handling or surface prep. However, because it’s effectively insoluble and solid flakes of luminous powder in a non-luminous binder emulsion, you cannot make the application 100% uniformly luminous. You will also see the substrate underneath, if one is used, or lose some light to the paint required to make the application opaque. It isn’t suitable to touch and practically, can only be used on dials and hands (and is good for hands because it’s light and thin). It can be applied with a brush, pad printed, or injection printed. Maximum thickness of application is limited by the constraints of the binder paint – i.e. it cannot be too thick, thereby limiting brightness. It can be applied via injection to capillary voids (e.g. on hands) which be thicker/ brighter, but also results in some unevenness as the heavier strontium aluminate might pond and clump.
2. Liquid fill
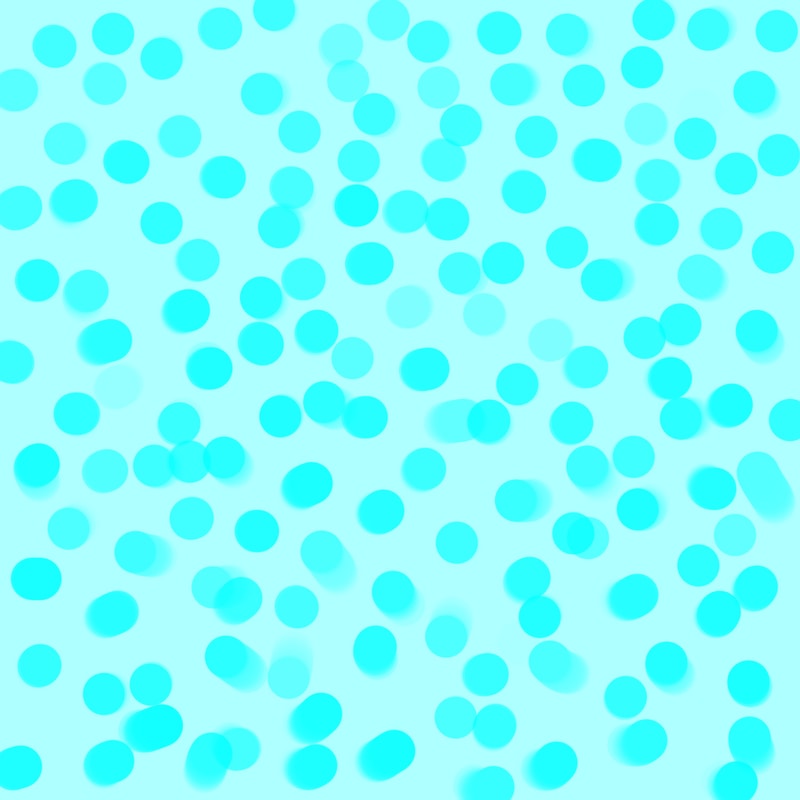
This involves a semi-dissolution of the material in a different binder; it has a much higher density of strontium aluminate, but is not suitable for all applications because it cannot be printed cleanly due to viscosity. For clean results, precisely defined voids and post-application polishing are required – i.e. the lasered cavities in sapphire on some of our crystals. It can be applied to open voids like hands and markers, but polishing requirements make this impractical to finish. Unlike with paint, you can get good definition on very small structures – down to 0.3mm – because you are unlikely to get a section that’s only binder and paint but no luminous material due to capillary action.
3. HyCeram
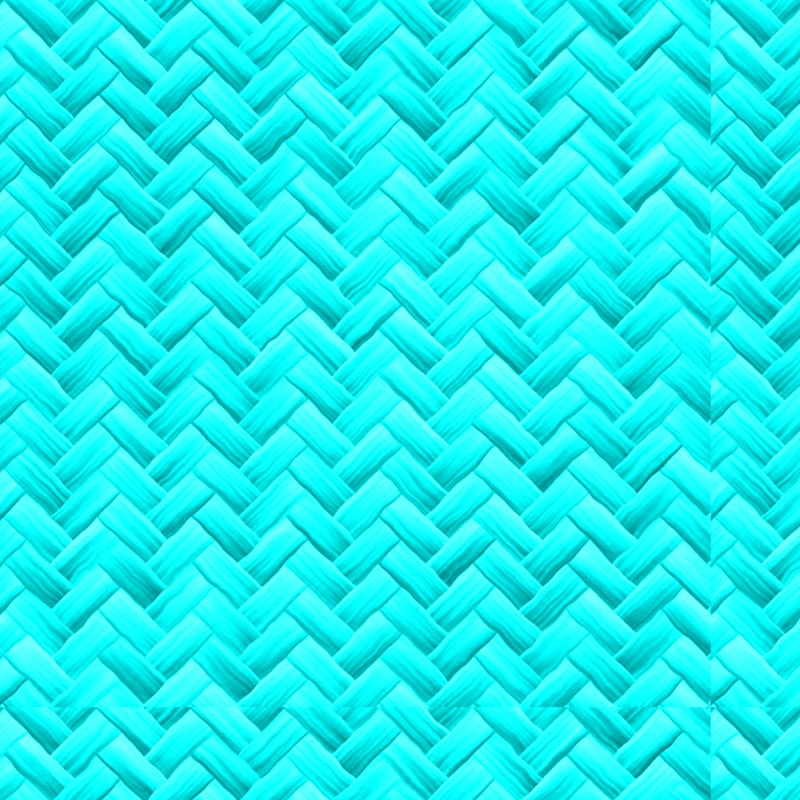
My personal favorite is the brightest and densest of the lot: it’s pure strontium aluminate powder with very minimal binder that’s filled into defined voids, baked at high temperature and then the excess polished down. It isn’t suitable for parts that cannot withstand high temperatures or mechanical abrasion (required for polishing) afterwards; basically it’s restricted to raw metal parts or sapphire. It’s also the most expensive and time consuming because of the number of steps and quantity of strontium aluminate. Only certain colors are suitable; but it can be used to render even finer structures more brightly than liquid fill – think dial text, for instance.
4. Solid
Here the strontium aluminate has been mixed with a translucent plastic and is a homogenous solid block; it can be cut, machined, and have substantial thickness. Unlike paint, it can’t be that thin, and unlike liquid/HyCeram, it can’t easily be made to conform to an existing void; this is better off for bulk structures like thick indices or short hands.

Perhaps the obvious question is why we don’t just machine solid blocks of strontium aluminate; the answer is it is brittle, tends to flake – fine powdered residue inside your movement is NOT a good thing – and hideously expensive – green C3 is about $100/gram, and higher grades or exotic colors significantly more expensive still.
I realise this has been a very long and technical explanation, but I hope it’s shed some light on why not all luminous material looks or glows the same!
-MT
Published: 13th September 2023

